This was a commission to create a life size, male Atlantic salmon at a very particular time in its life cycle. The client only wanted the model to hint towards the salmon’s transformation into the recognisably pink, kype jawed adult that we associate with Atlantic salmon. As such, a lot of research into the life cycle of salmon was needed, and a thorough understanding of the complex changes that they go through as they grow into adulthood.
process:
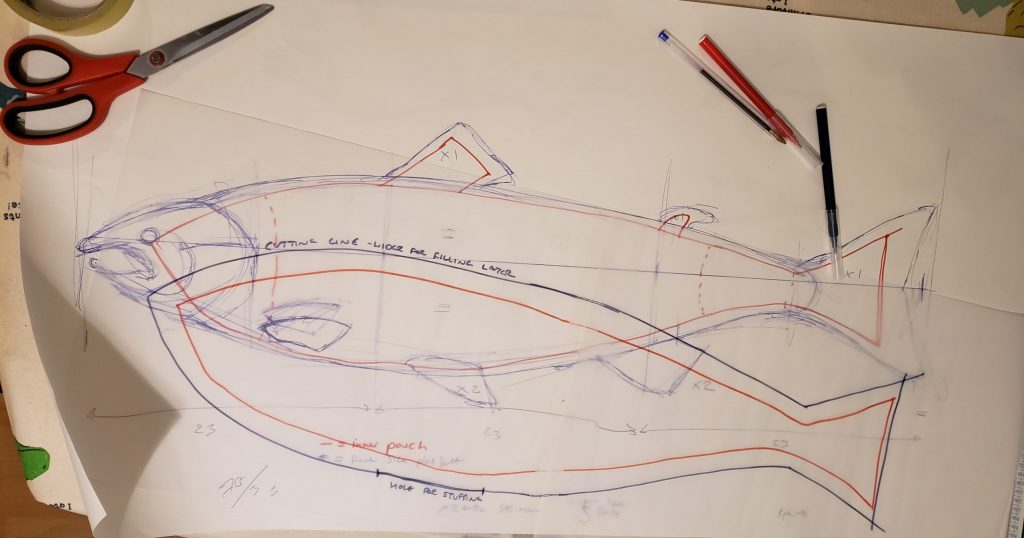
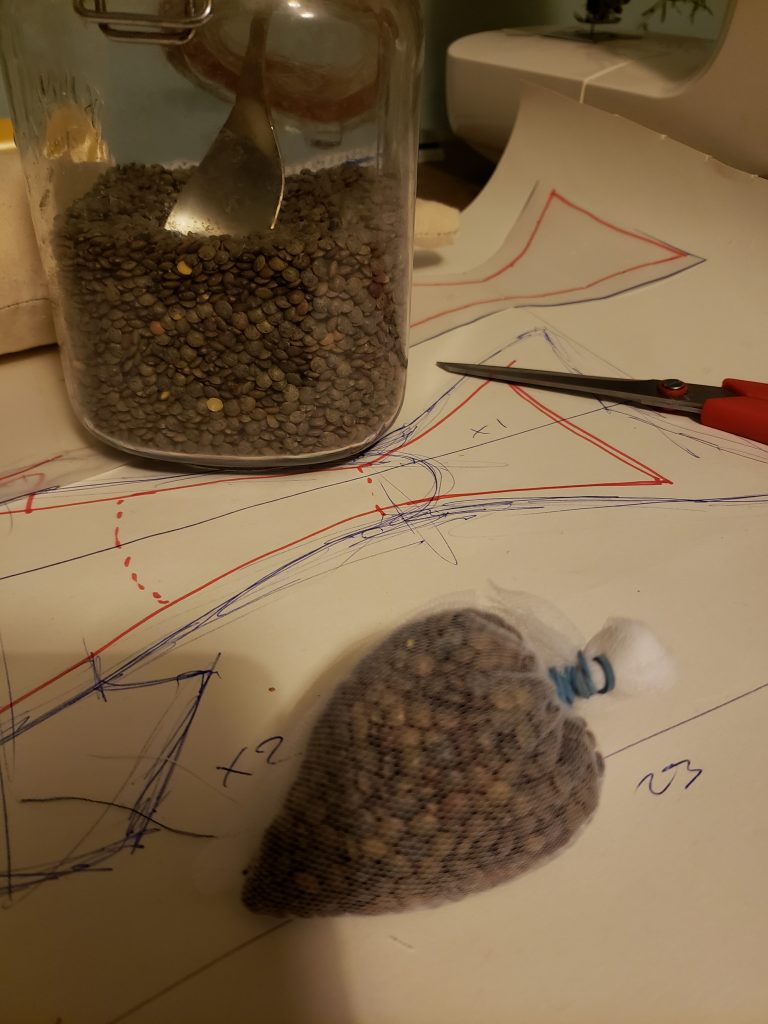
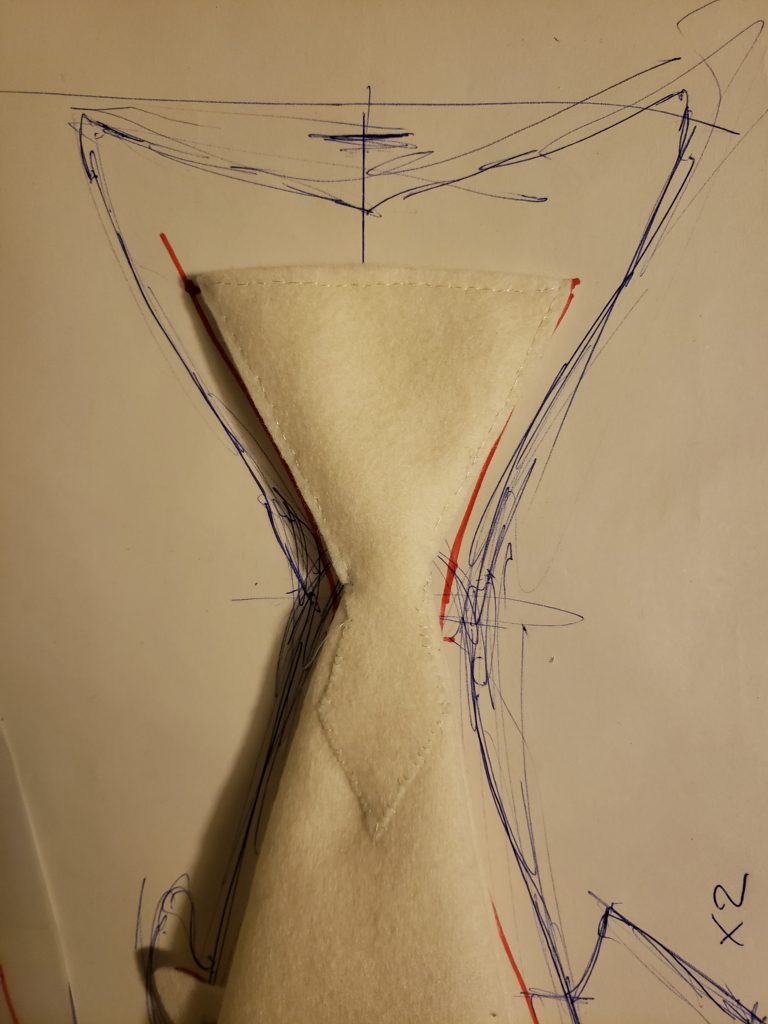
- I created a life size blue print of the salmon which defined the total outline in blue and the inside structure in red.
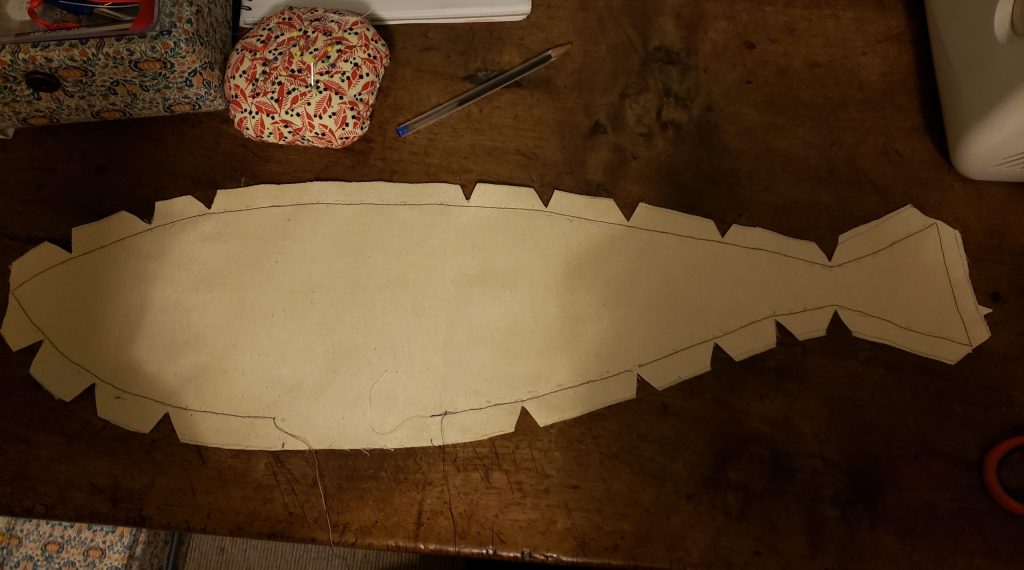
2) I made a calico ‘pocket’ which had a small opening to allow me to turn it the right way out and then stuff it. This would be the core of the fish.
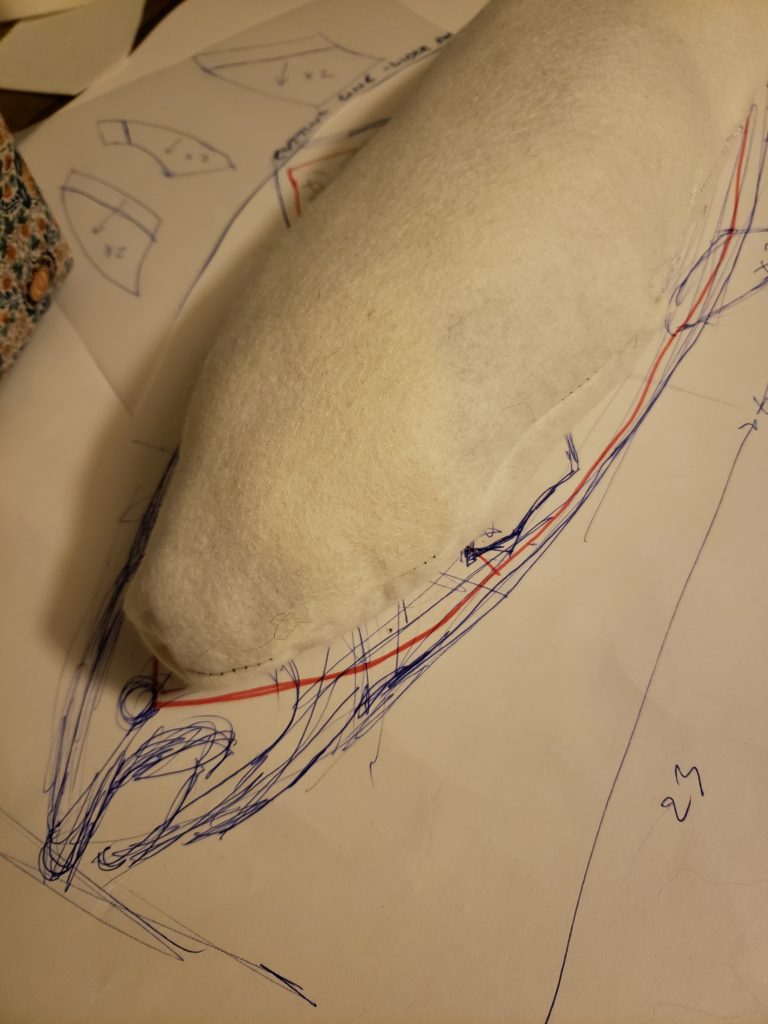
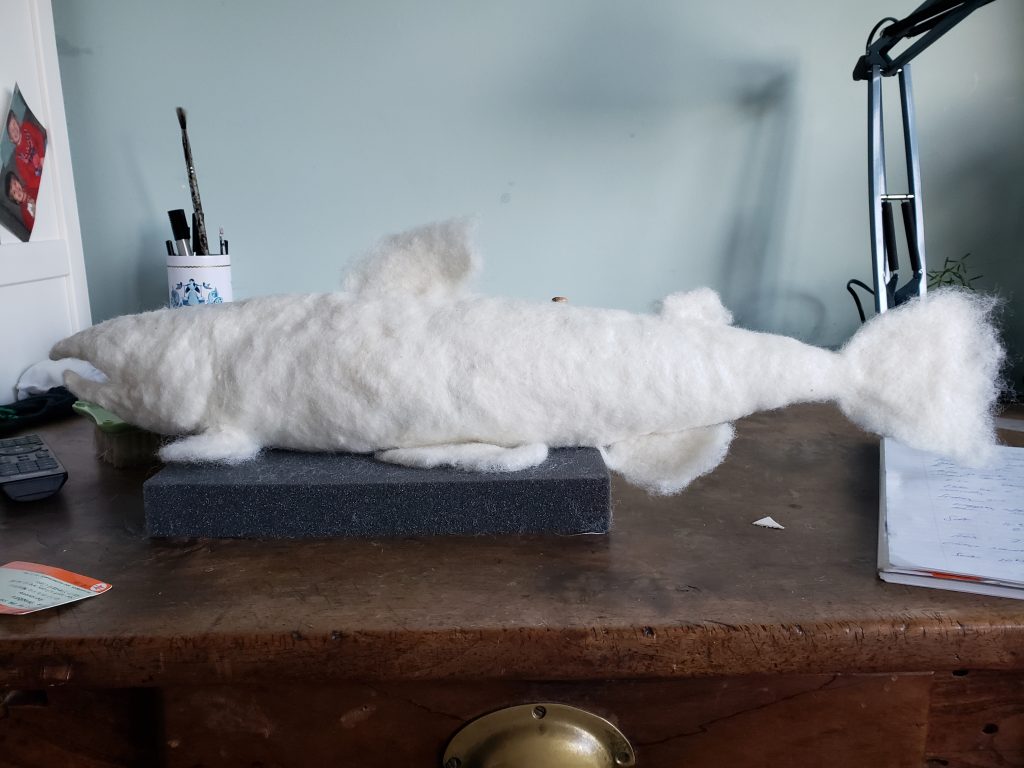
3) I wanted the fish to have more weight at the head, so the whole object didn’t feel like a cushion, so I made pocket of lentils and popped that inside the head end then stuffed the fish with recycled wool and stuffing.
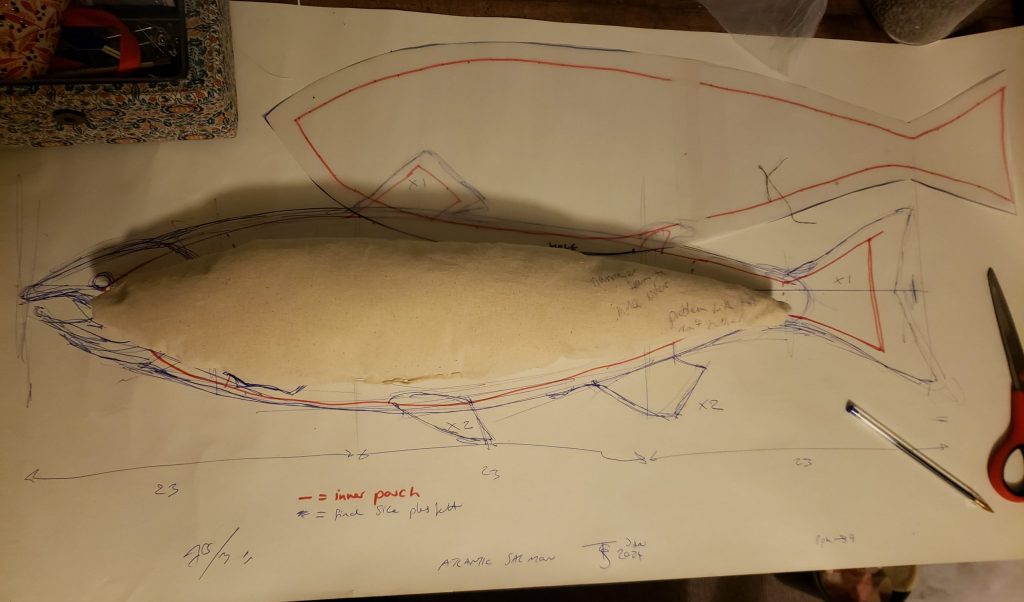
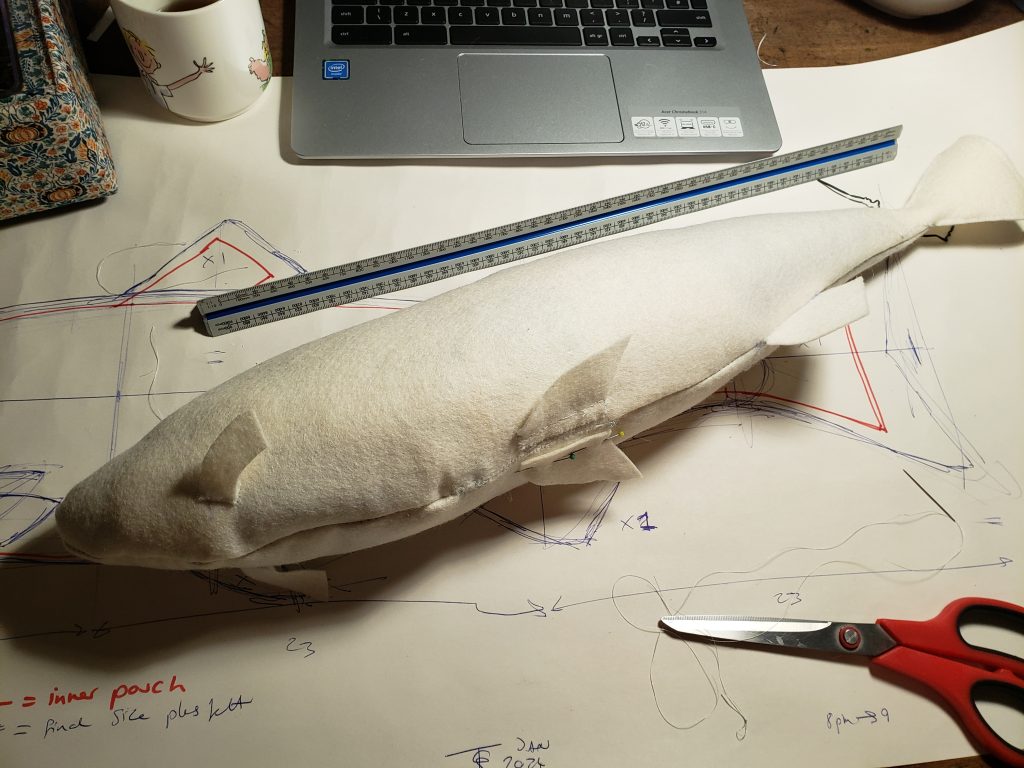
Having stuffed the fish, I returned to my blue print to make sure it was the correct size.
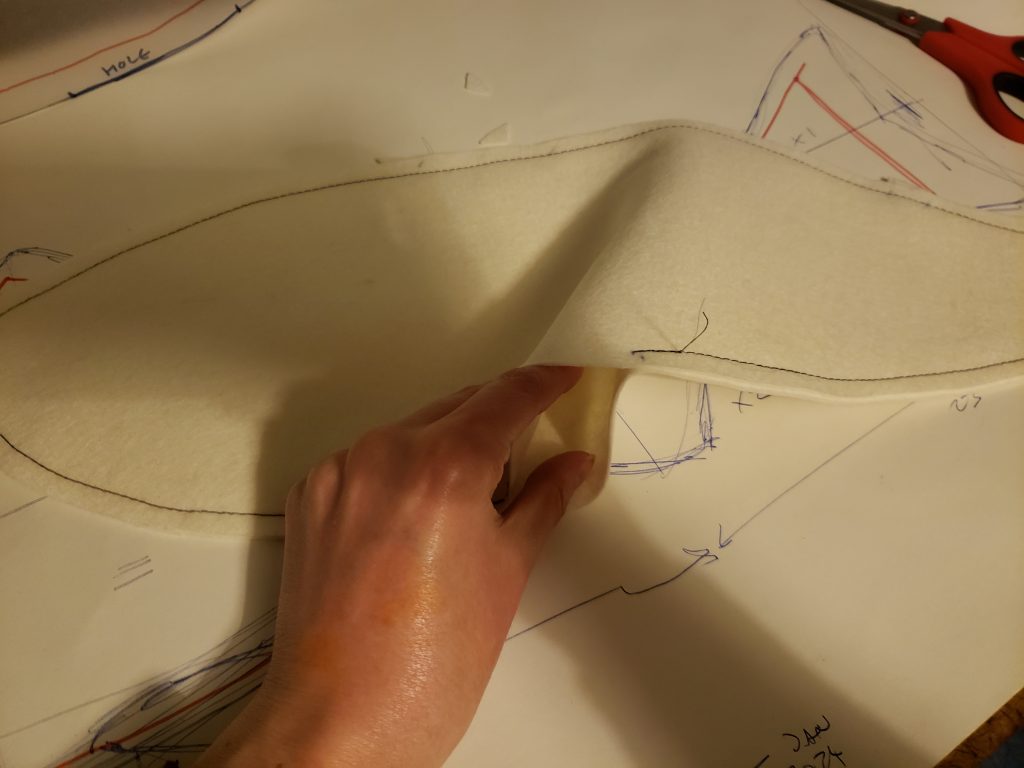
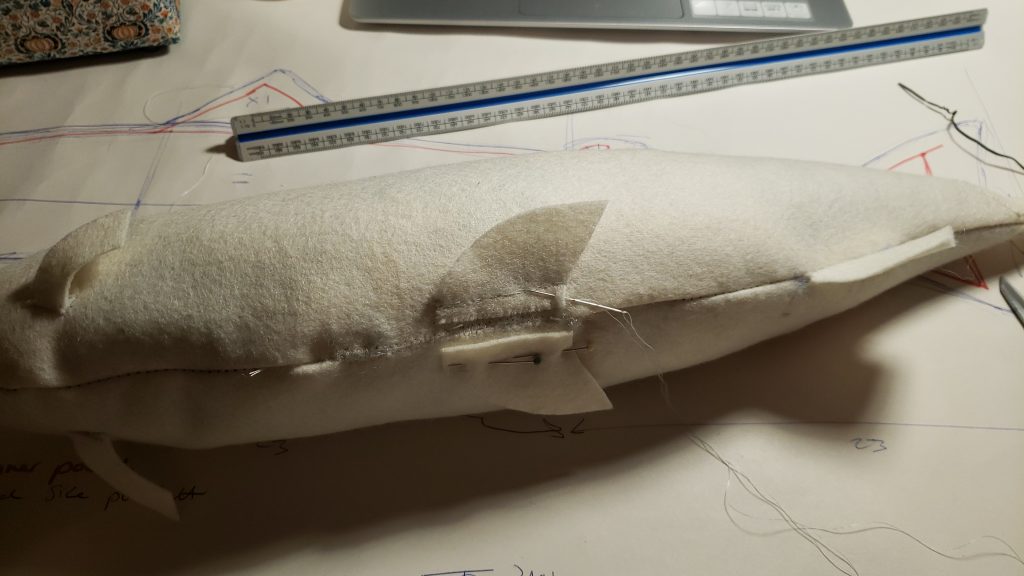
4) Having made the inner pocket, I then made a second cover which was made of natural felt (you can by this by the metre). I didn’t want the tail to be chunky, so I made that separately using my red outline paper template as a guide. I needed to make this felt layer or felt so that I had a surface to needle-felt into later.

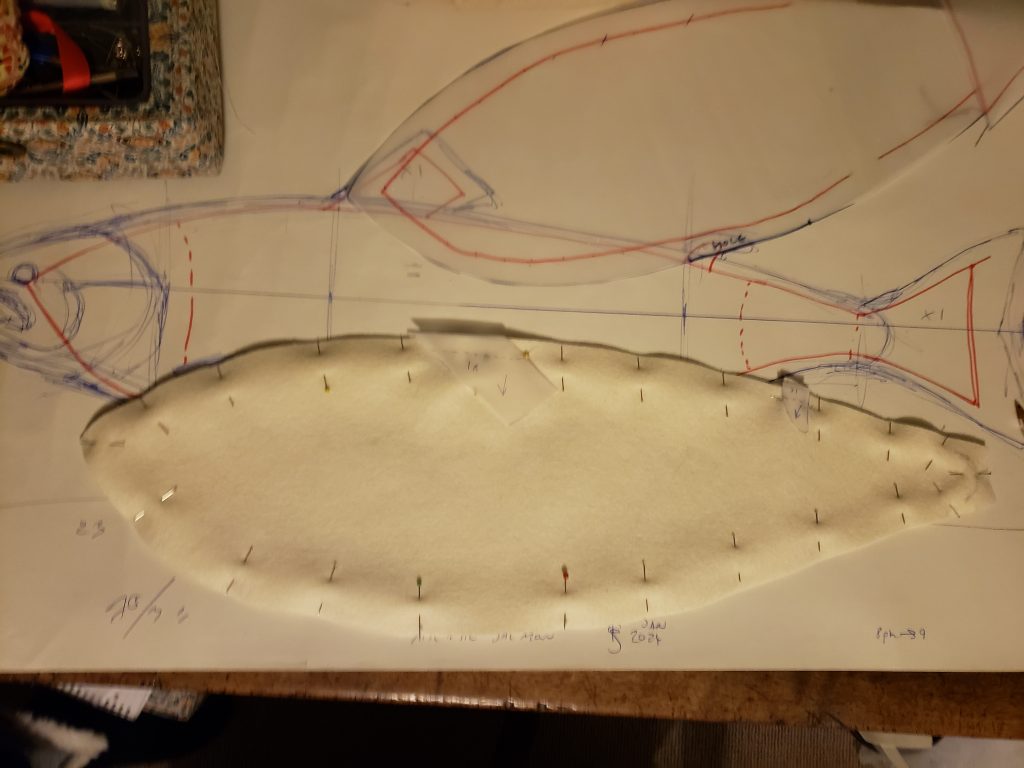
5) Next I had to make and attach all the felt fins. I didn’t want them to be flimsy so I sewed them to this base so there wouldn’t be any risk of them being torn off. I had to be careful to take into account that there would be a thick layer of felt on the top, so these fin pieces needed to be bigger and longer to account for that.

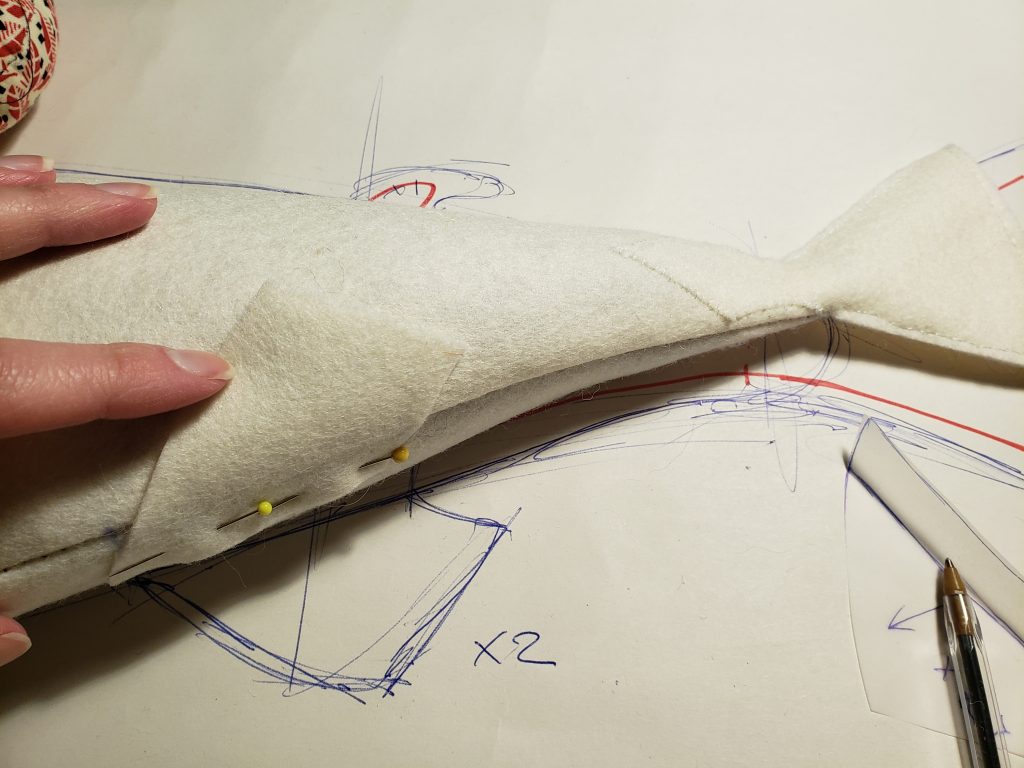
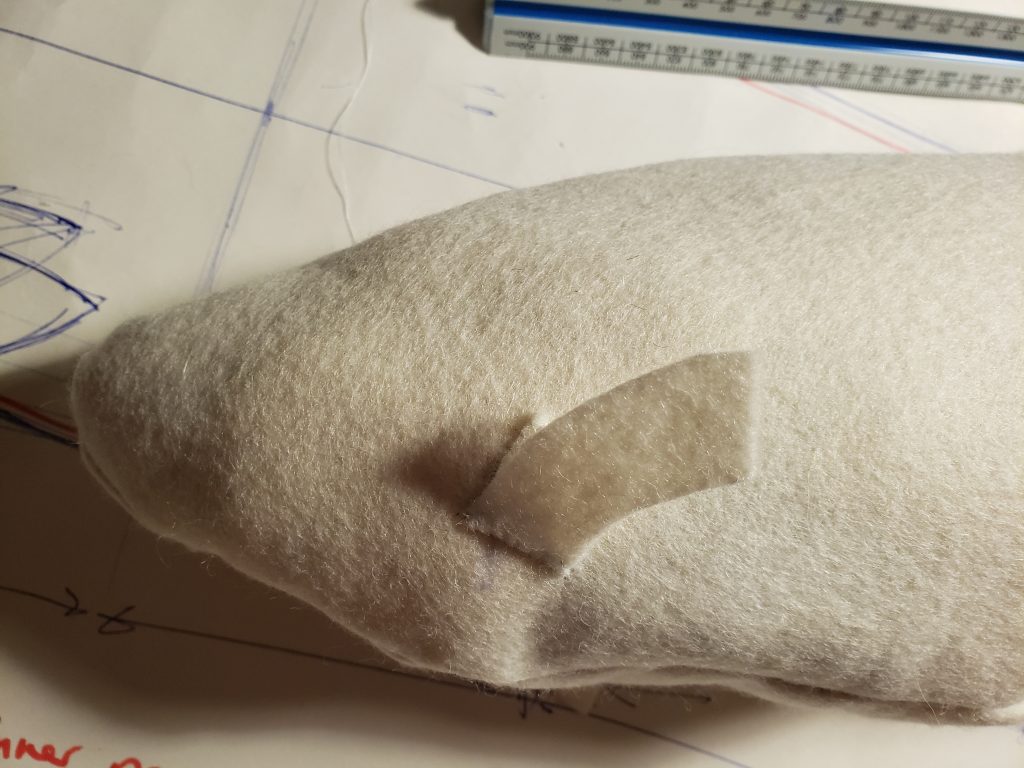
As you can see from the pictures, I had a tracing paper template from my original blue print, enlarged them, and sewed them on by hand. Now my inner structure was almost complete!
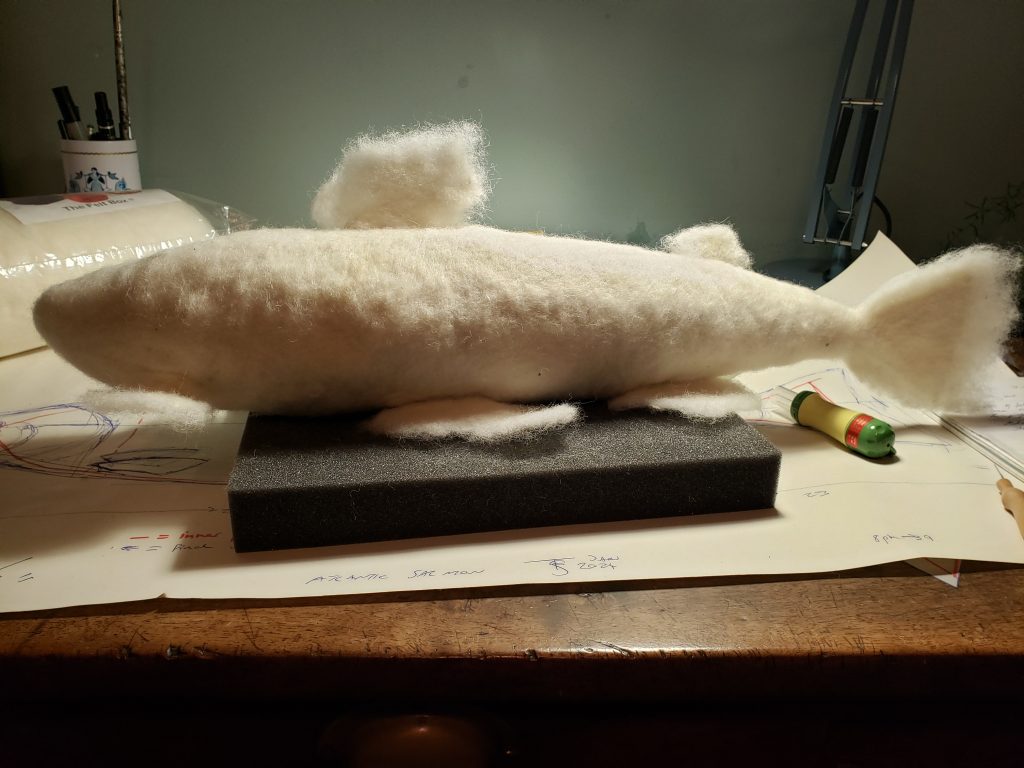
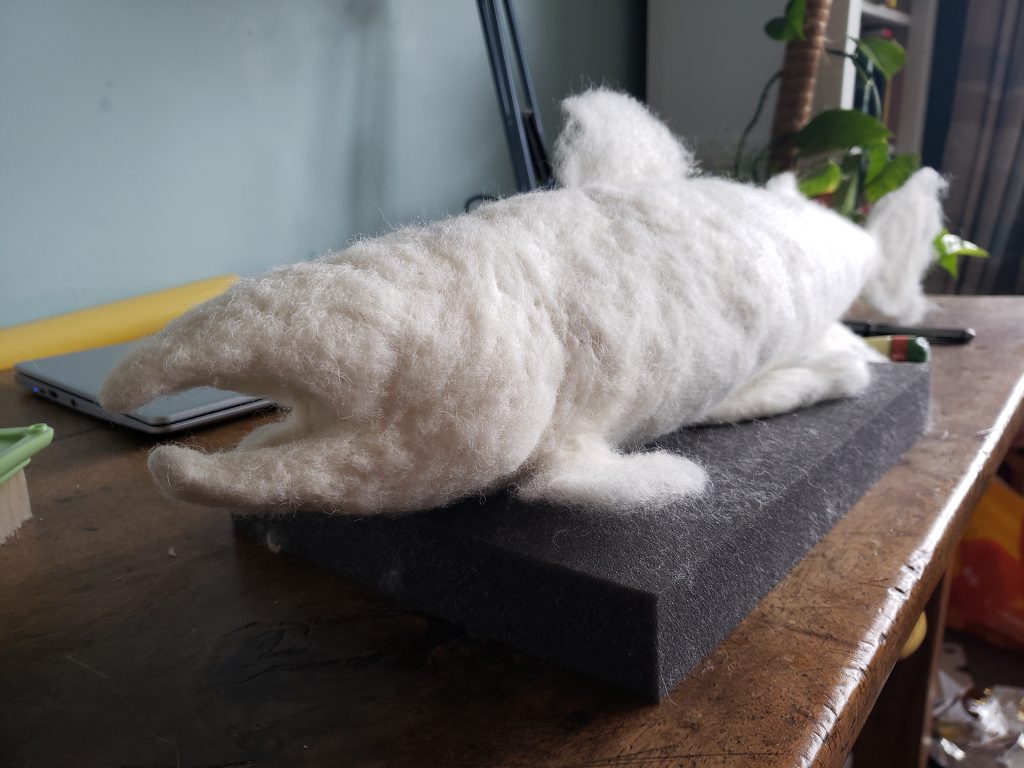
6) Now for the third layer! Next I needle-felted a layer or core wool over the entire salmon. This would blend all the separate parts together, add more fat and start to blend the fins out into the much thinner form they would need to be. At this point it’s all too big, but you need to give yourself the surface to work back from. This layer needed to be densely felted to that the top layer of wool would felt in well later.
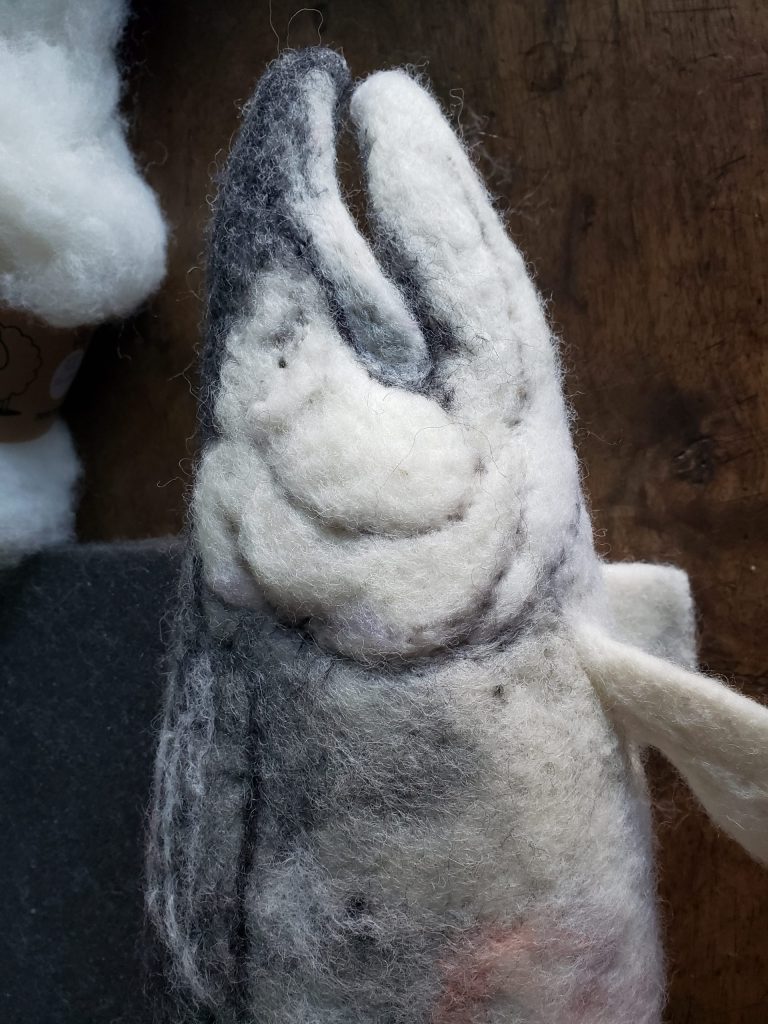
7) Although there wasn’t to be a wire armature for the body of the salmon, I felt it was necessary to make a small wire frame for the head. I wanted the mouth to be slightly open, which would add more character and realism to the fish.
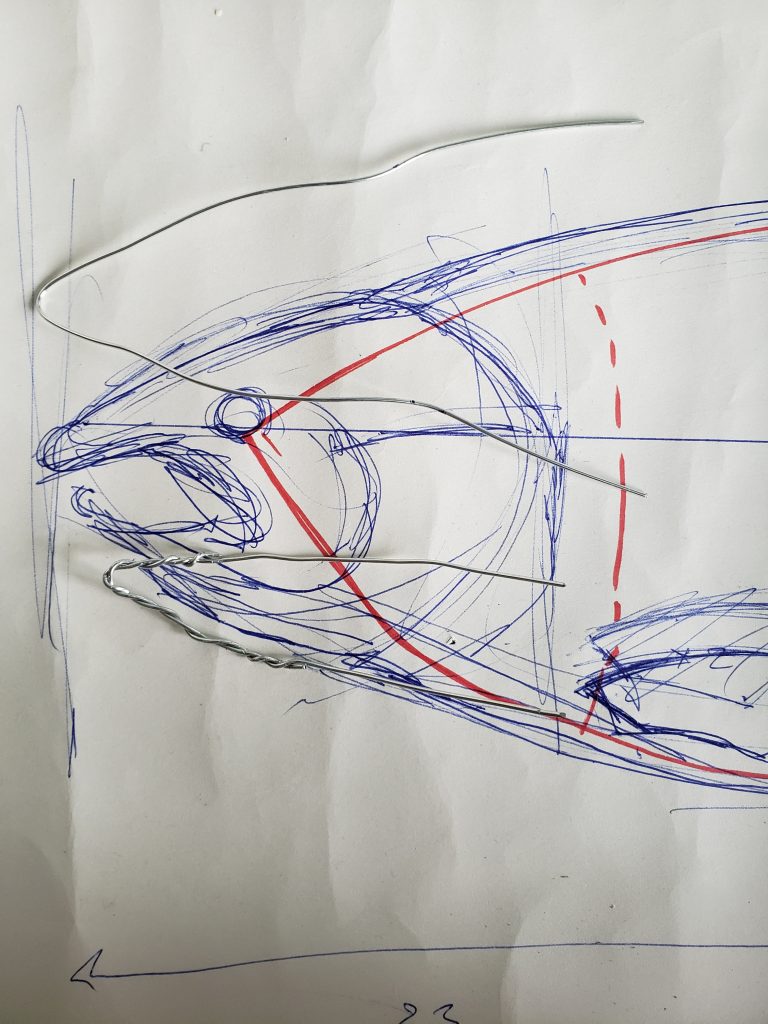
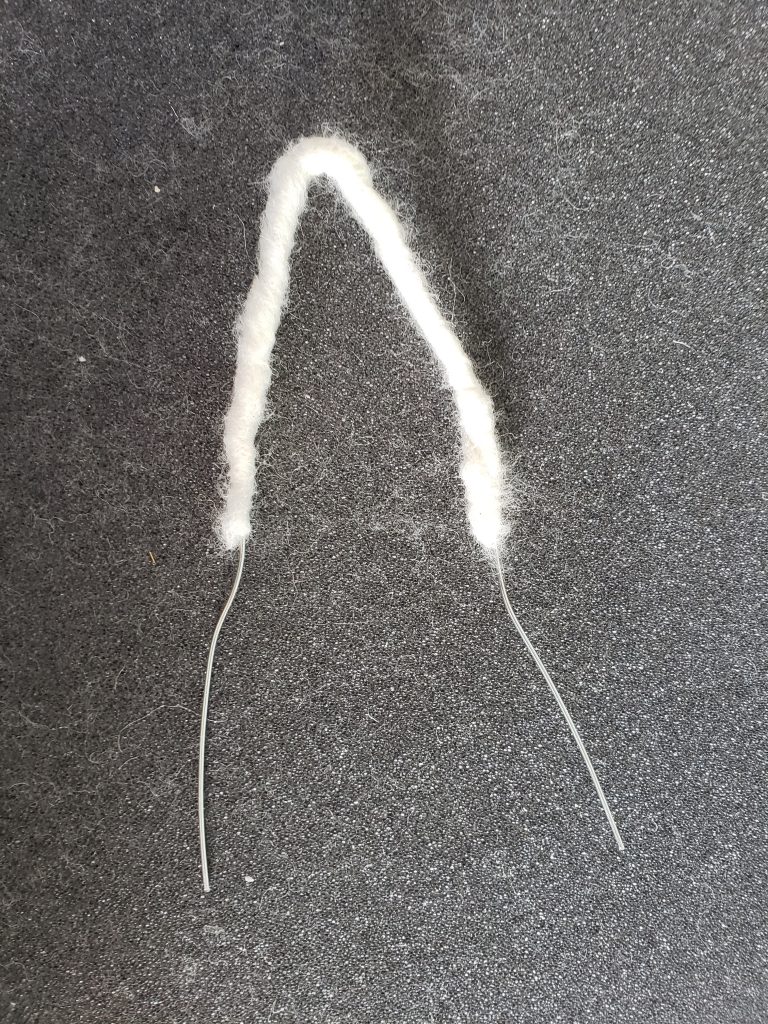
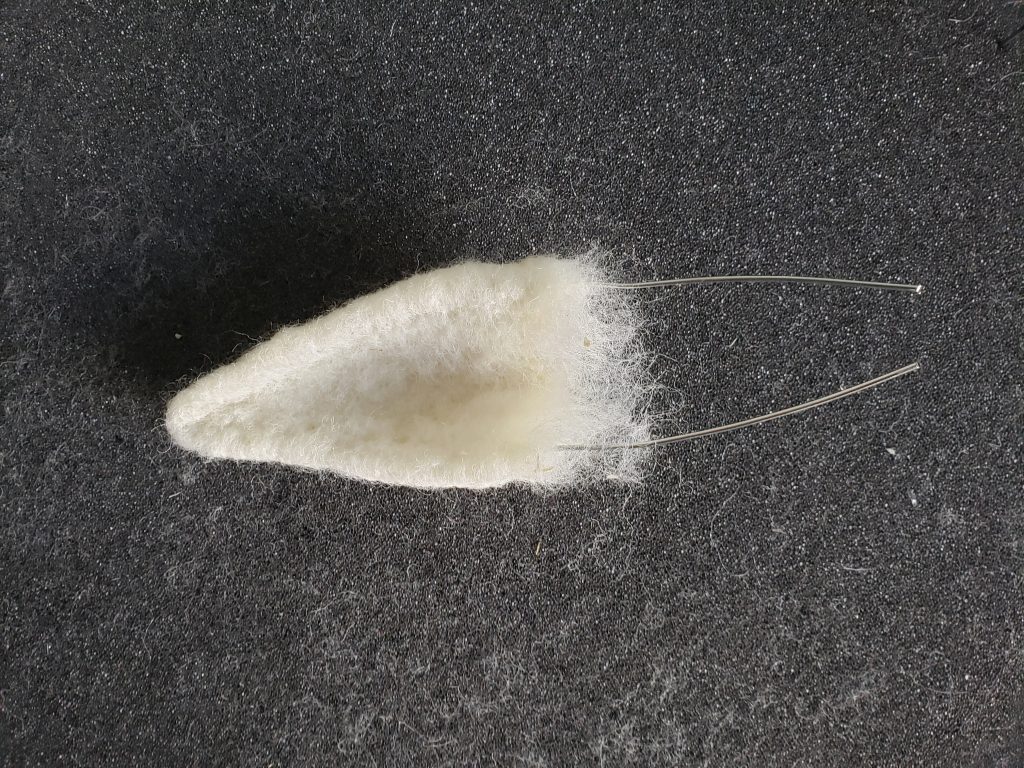
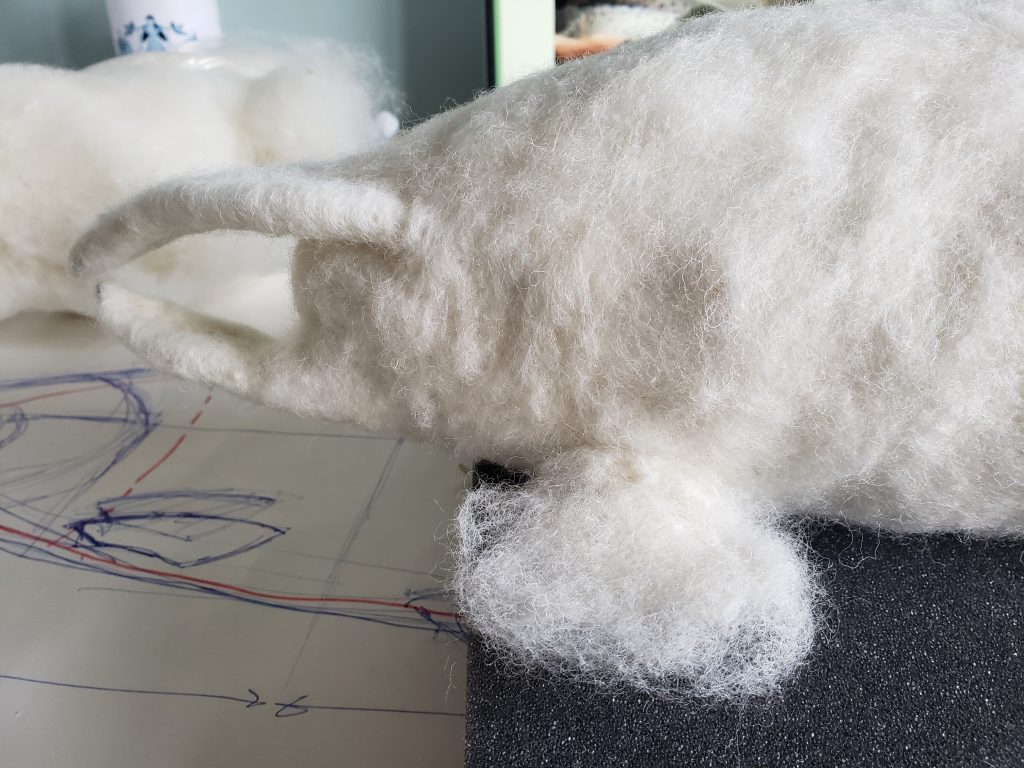
You’ll see in the pictures above that I made a top and bottom jaw, wrapped them in core wool and then built up the solid structures separately before felting them on to the main body. At this stage it looks very strange! Have faith!
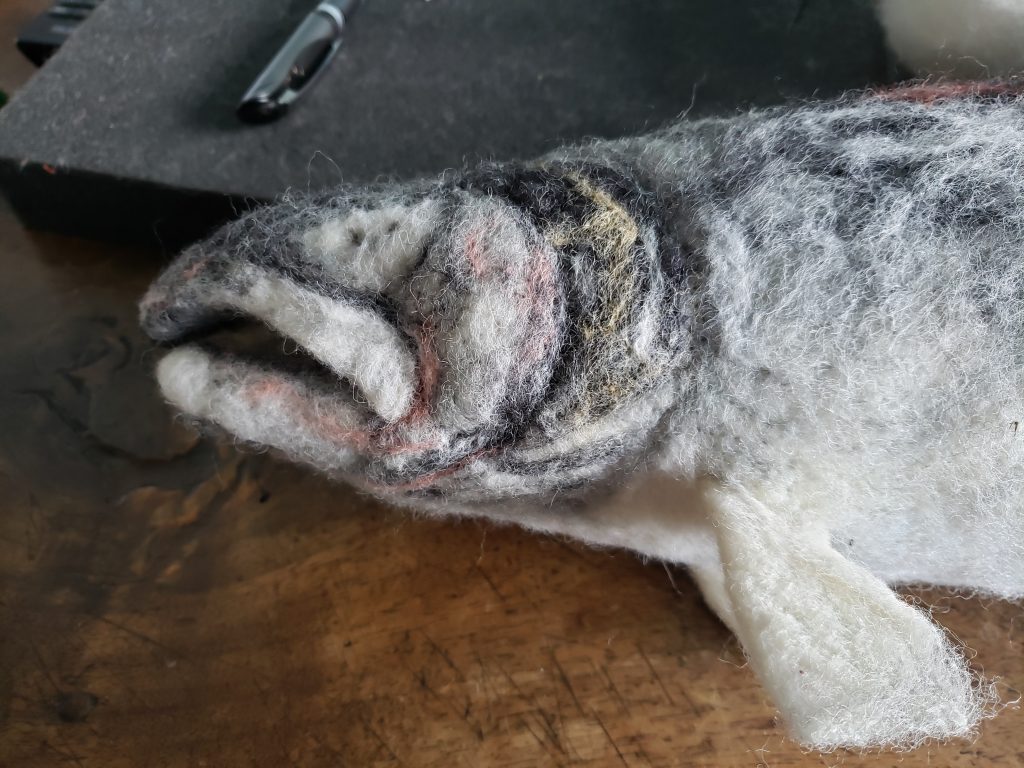
8) I then continues to build up the shape of the head until it started to look more salmon-like.
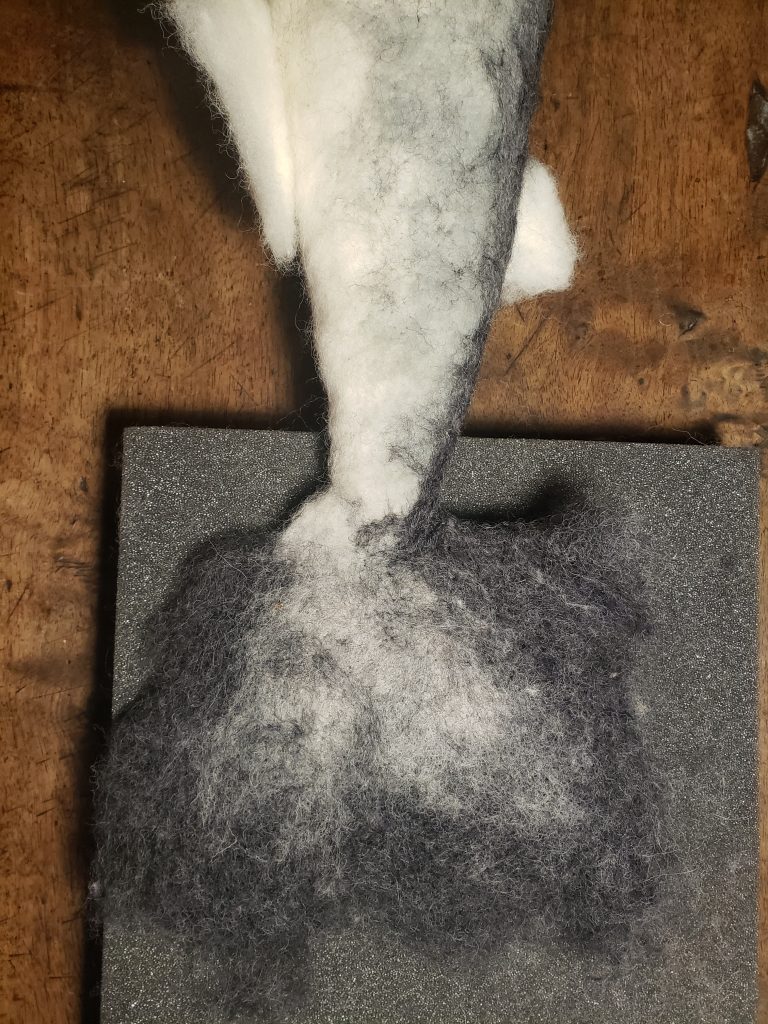
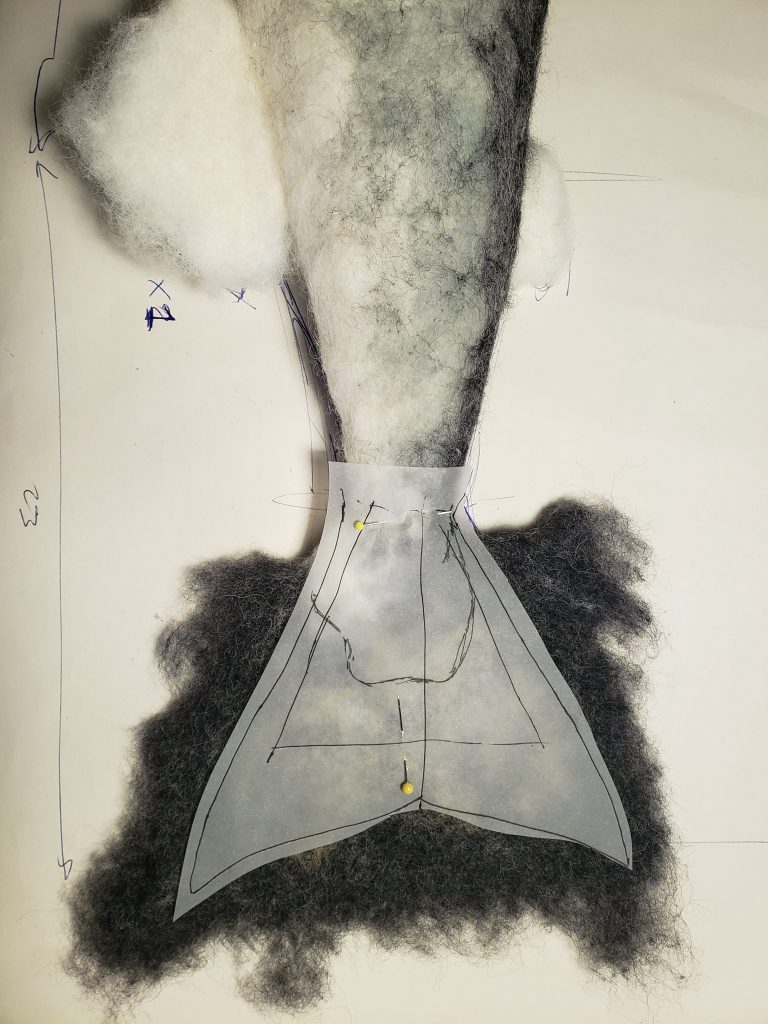
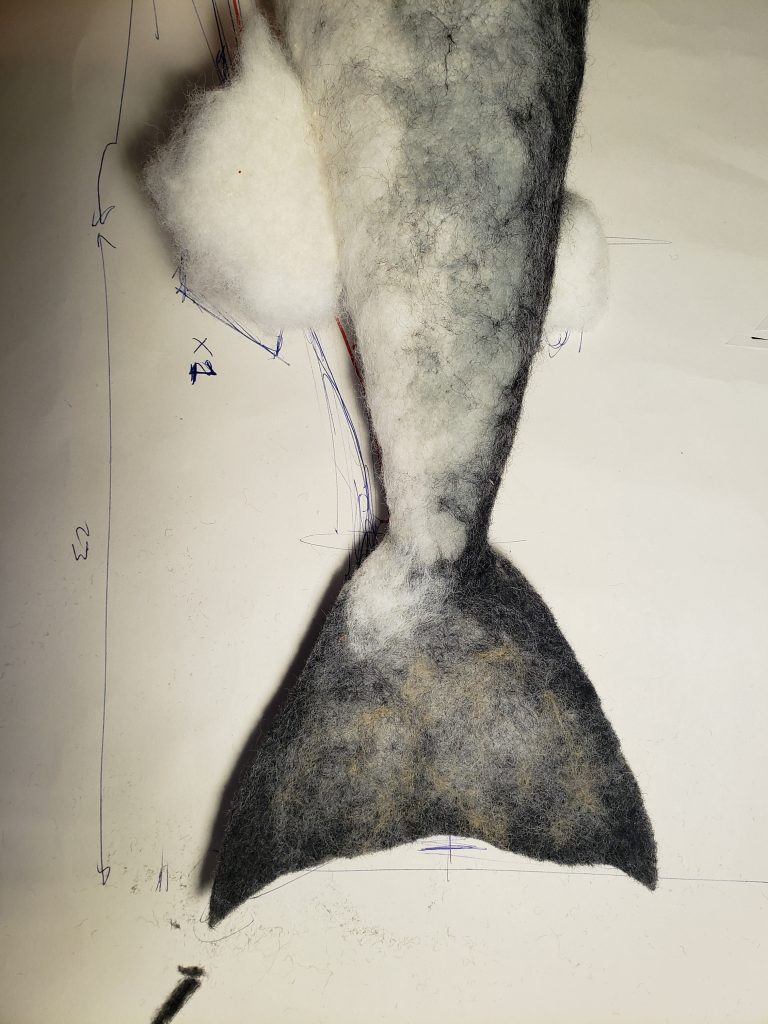
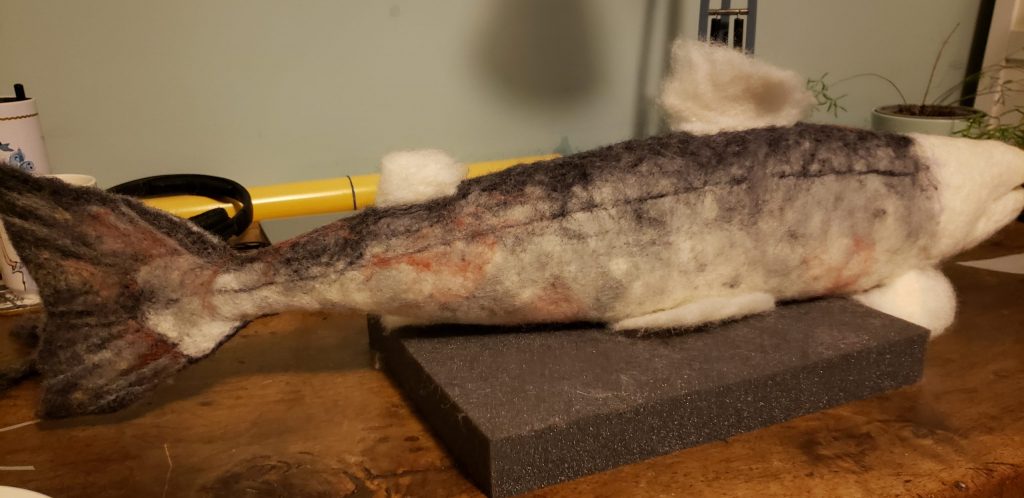
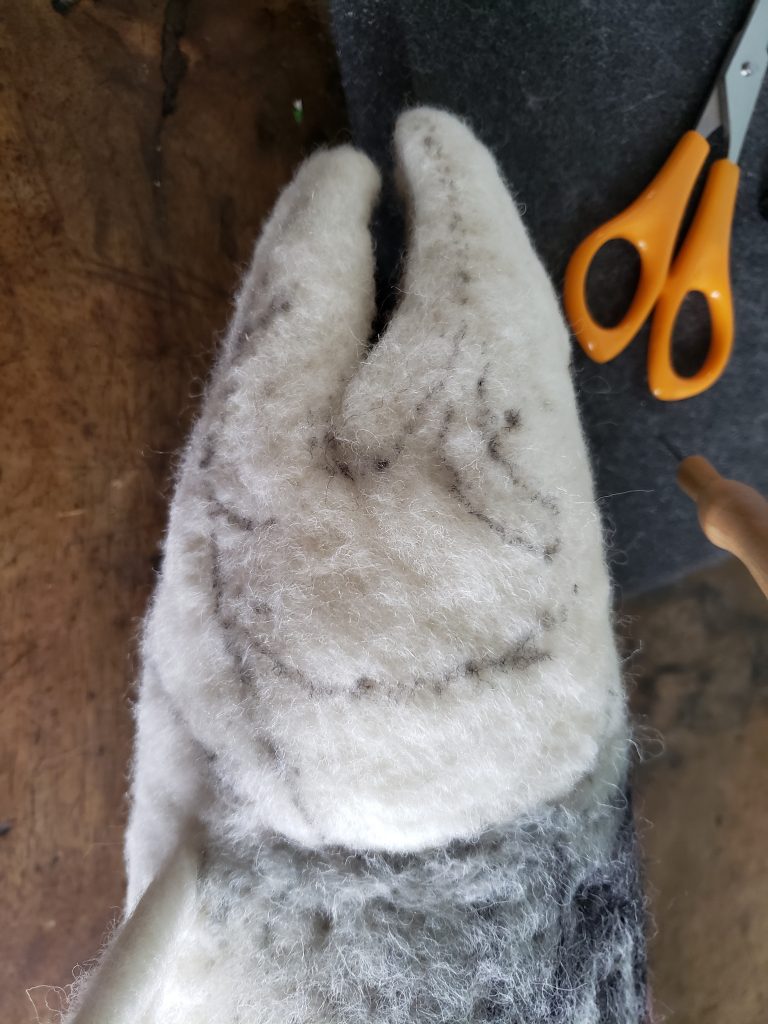
9) Now for adding the colour! These three pictures illustrate how I used a variety of grey toppers to needle-felt a ‘mat’ on both sides of the tail base, gradually thinning towards the edges. I then used a template to cut the mat into the final tail shape.
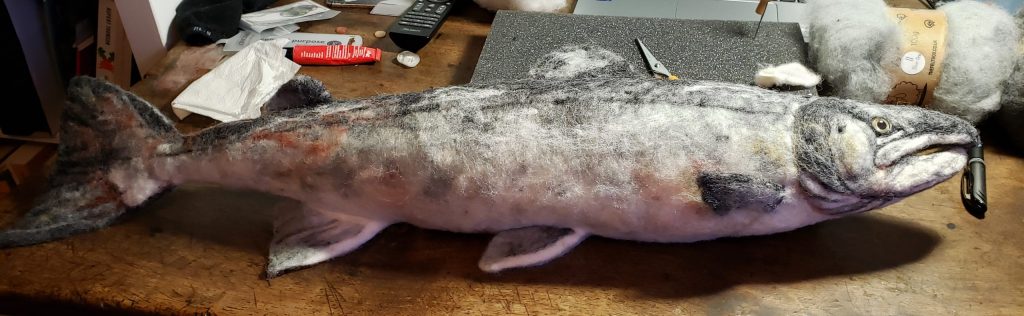
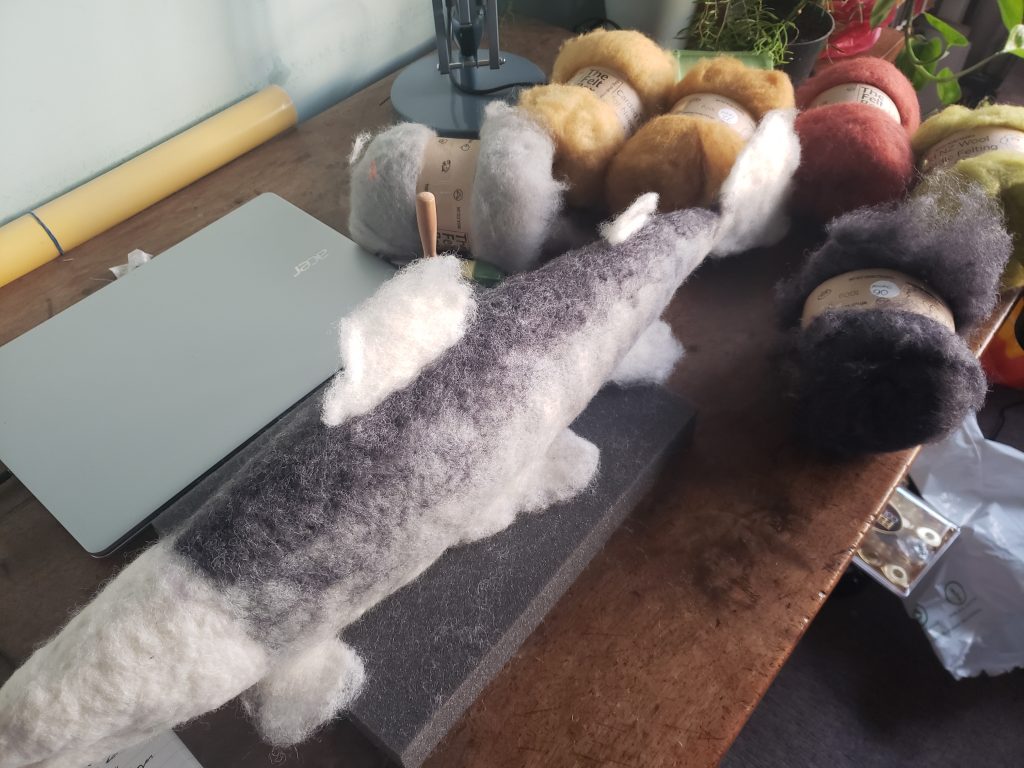
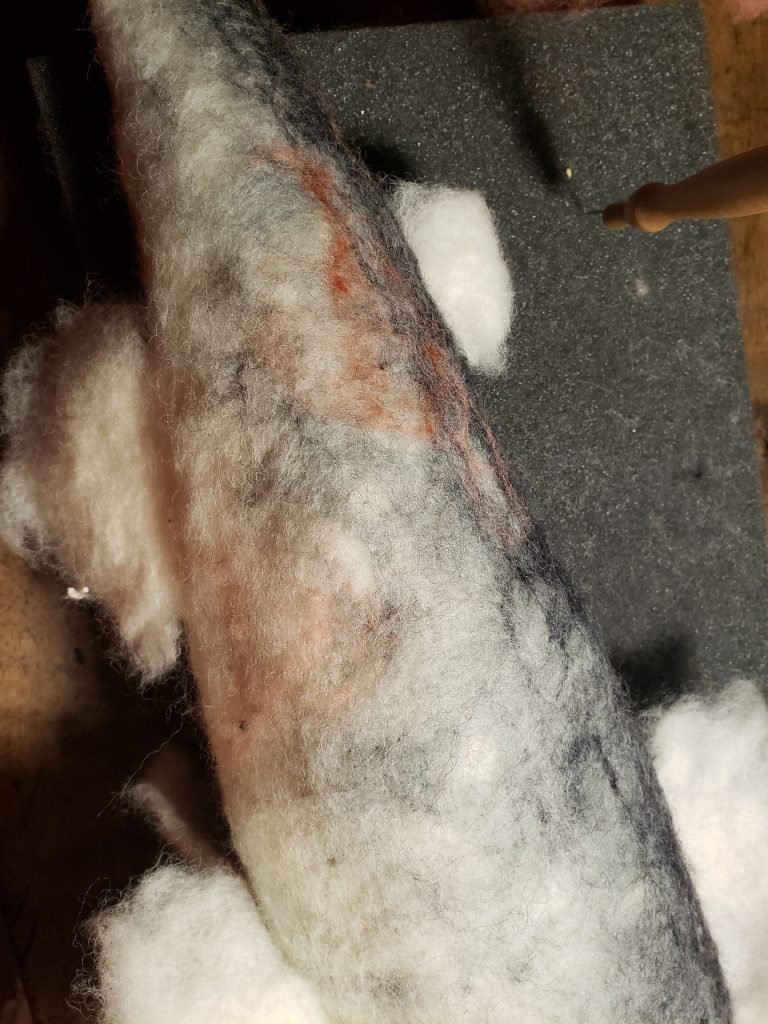
10) One of the best parts of this project was choosing all the colours that would need to be included in the saloms scales. I chose not to actually create defined scales. Instead I opted for a variety of greys, tans and pinks that I could blend together and add texture to. As you can see below, I’ve only added a hint of the stronger salmon pink and it’s enough to give the whole fish a fleshiness.
11) The head was built up slowly, making sure that the gills and eye socket had some dimension by felting those indentations more heavily with the felting needle and bulking out those fish chops!
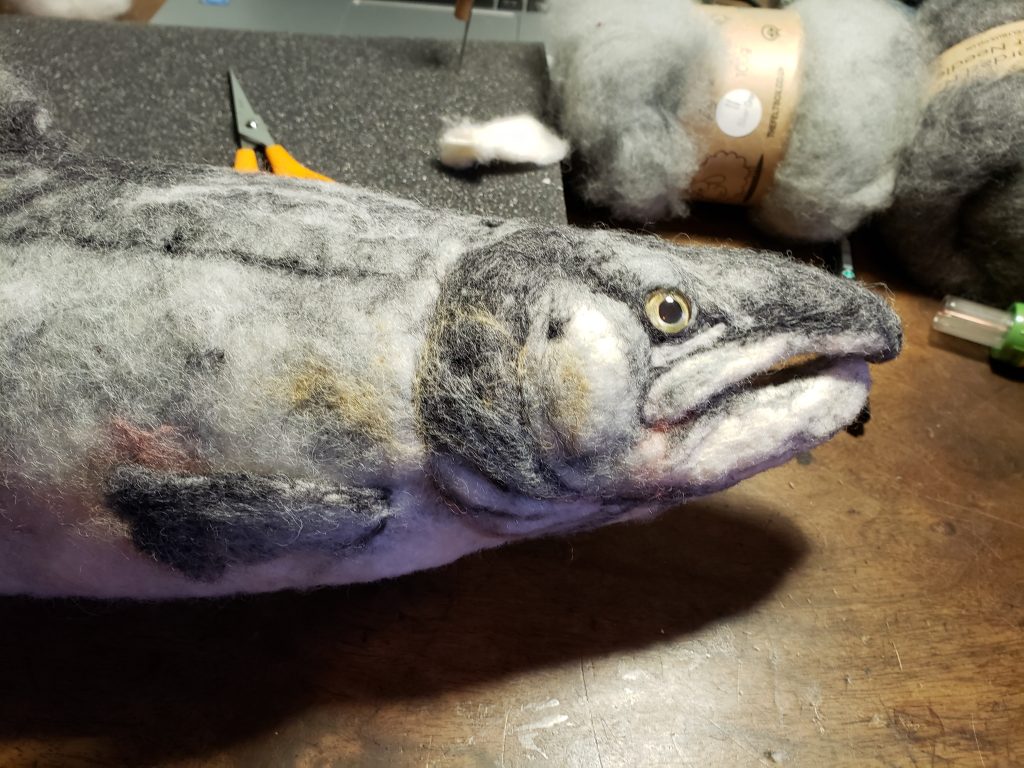
After the fins were finished, the eyes were glued in and felted around for extra security.
FINISHED!